Showing posts with label printmaking. Show all posts
Sunday, December 22, 2013
Tuesday, December 10, 2013
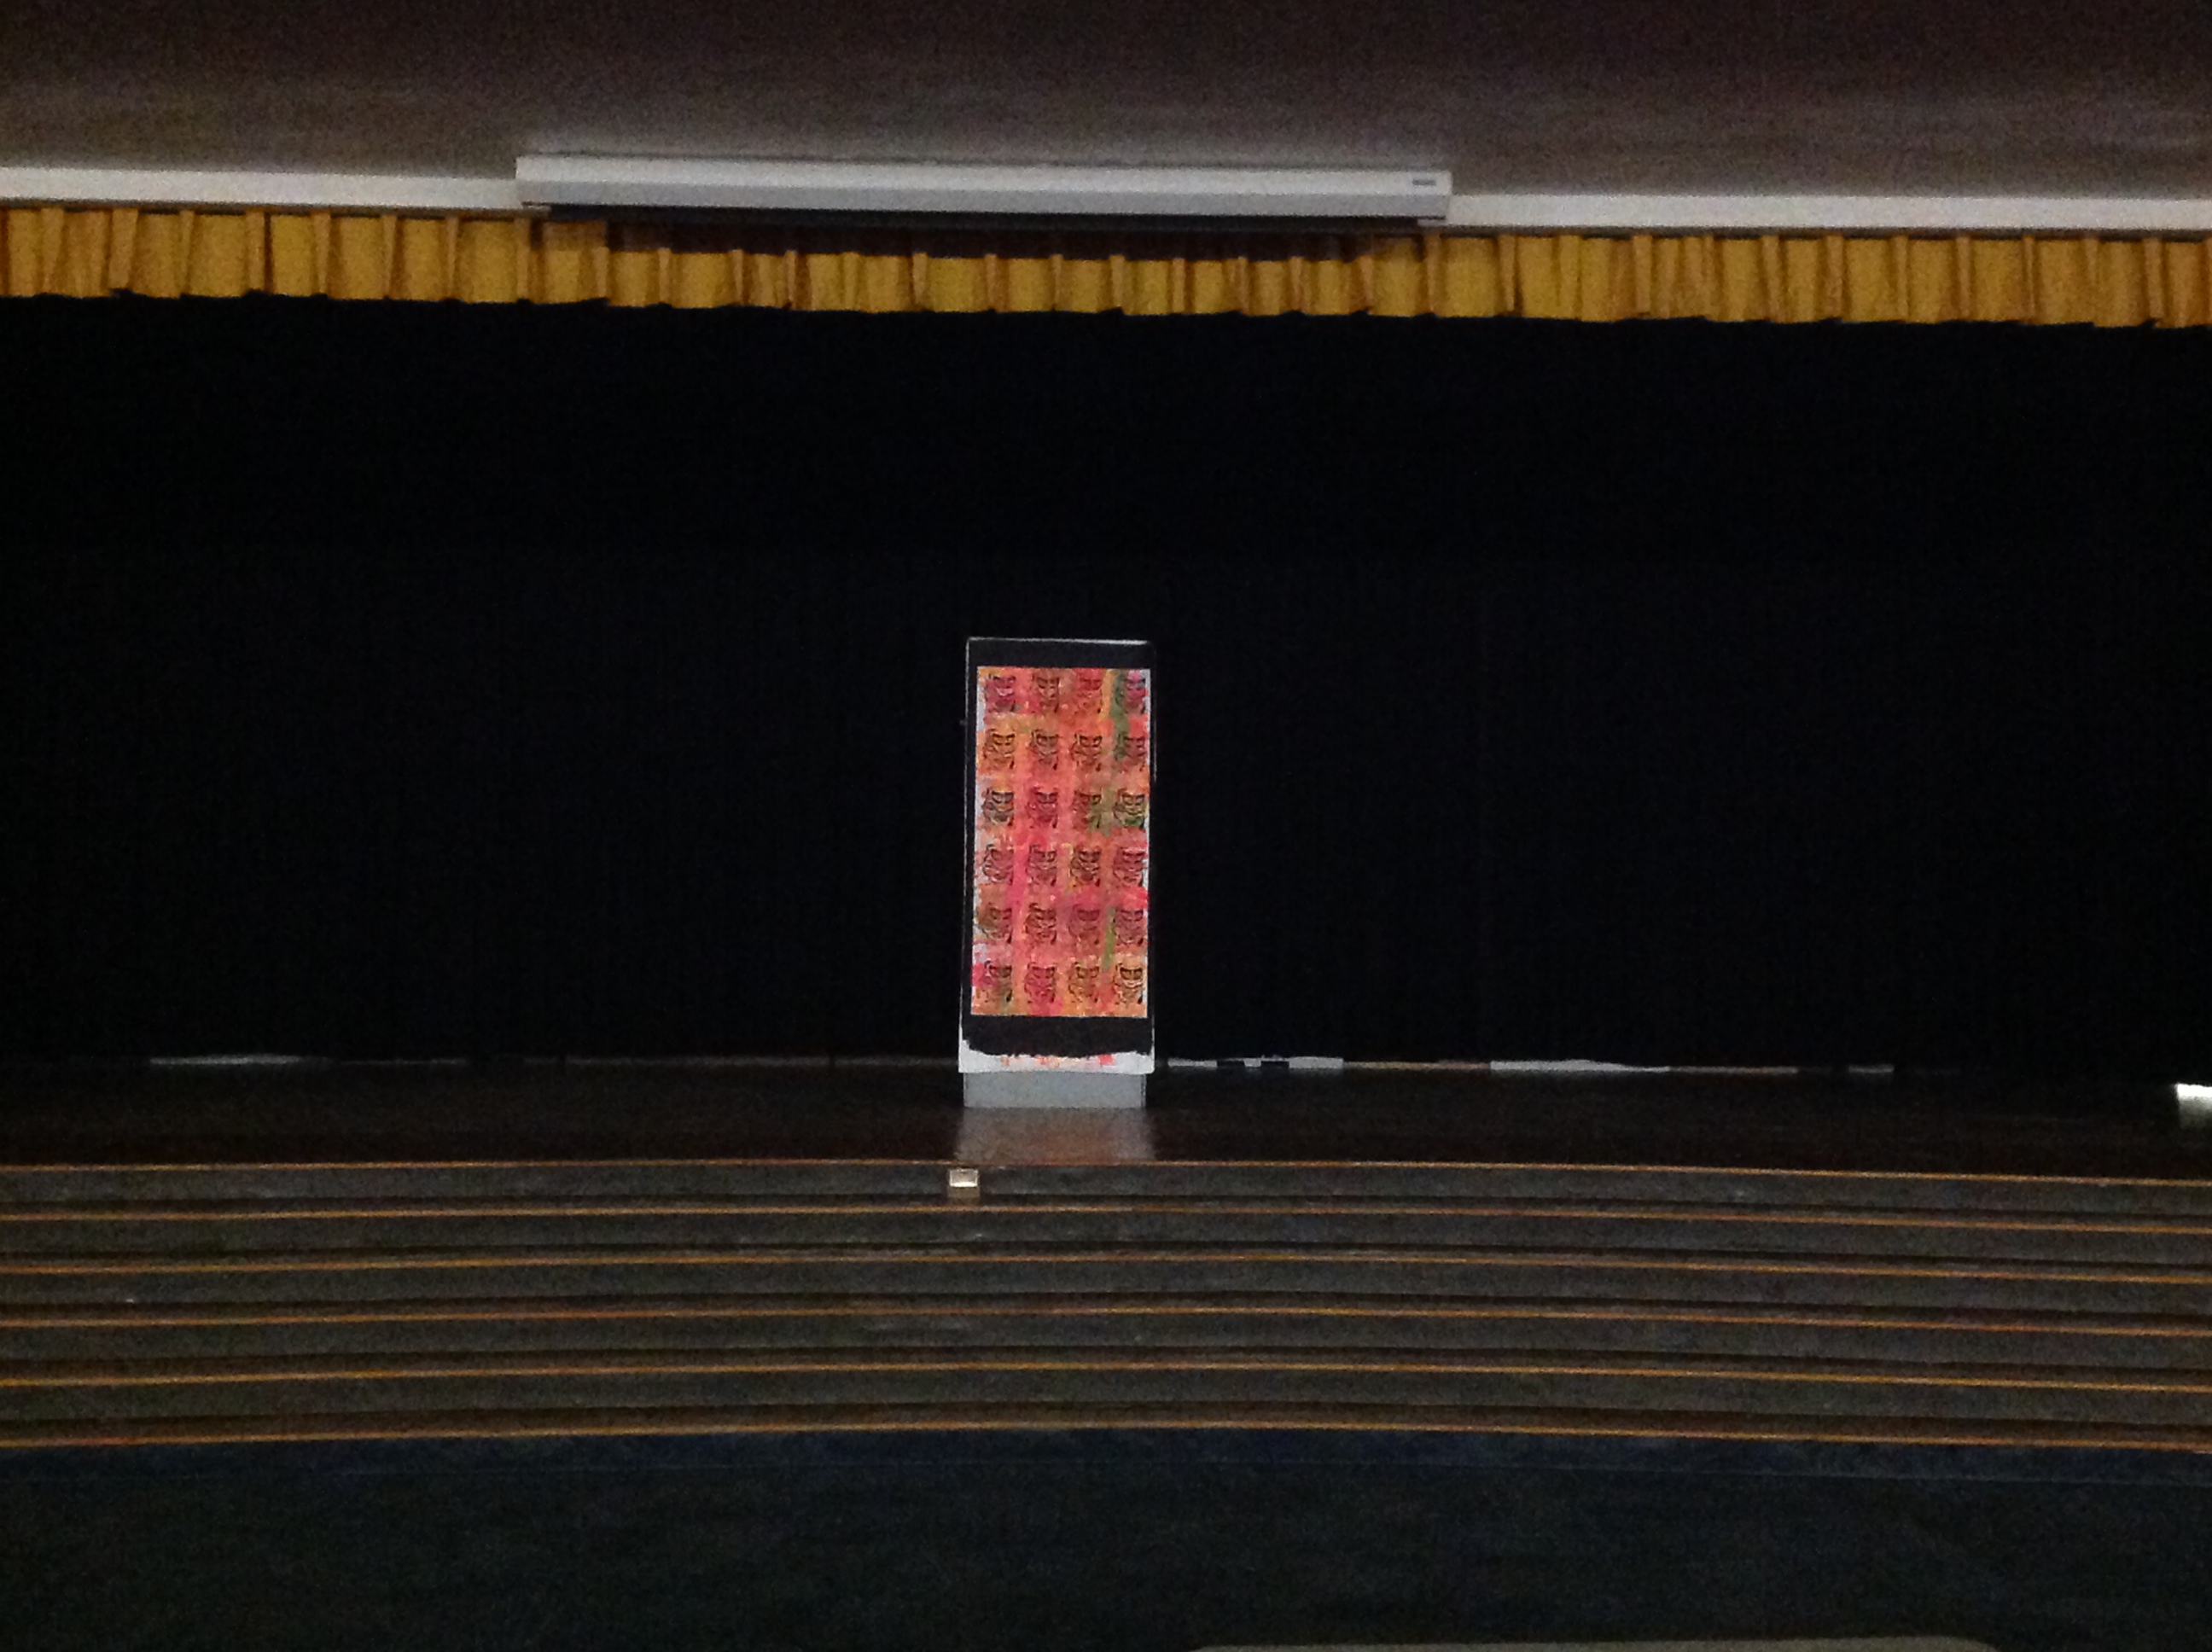
Marilyn meet Super Kylie
As you all know, a couple of my loves are my kids and printmaking (or screen printing in this case..). Okay, I love lots more than that, but you get my meaning!
Anyway, I had an idea and went with it. And it turned out! I love it when that happens. Actually, it worked out better than I had imagined! Love ... Love... Love!!
So that you can get an idea of the scale, each print of Kylie is a little large than a standard sheet of paper. So this is BIG!
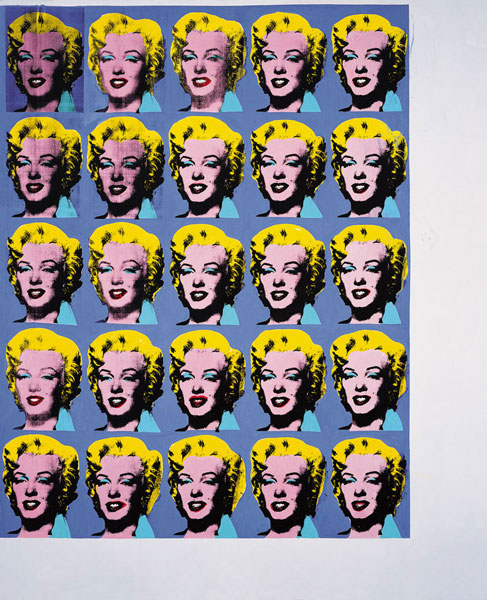
And in case you didn't understand my title, I created this piece from inspiration of the Marilyn Monroe piece by Andy Warhol. You can check out this painting and some of his other works at http://www.themodern.org/collection/artists/Warhol
Thursday, November 21, 2013
Art Convention 2013
I'm preparing to leave for the Texas Art Education Association's annual conference. It's always a fun time of learning new classroom tricks, finding new products and just rejuvenating with like-minded people.
This year I'm teaching two different workshops. One is
"Georgia O'Keeffe Meets Andy Warhol"
It's about drawing flowers up close and then turning them into a three part stencil and printing the flowers multiple times.
You can find out more by clicking on the guide below.
Check out How to Create a Set of Andy Warhol Inspired Flower Prints by Emily McLemore on Snapguide.
This year I'm teaching two different workshops. One is
"Georgia O'Keeffe Meets Andy Warhol"
It's about drawing flowers up close and then turning them into a three part stencil and printing the flowers multiple times.
You can find out more by clicking on the guide below.
Check out How to Create a Set of Andy Warhol Inspired Flower Prints by Emily McLemore on Snapguide.
I'm also teaching a workshop on how to use Snapguide and Guidecentral. I am a great fan of these sites/applications.
So that's what I've been working on the last few days. Gathering supplies for a hands on workshop for 50 (but I'm teaching it twice, so 100) and having to pack them for travel takes some planning and prepping. But I think I pretty much have it all done... except for a few things I though about during the night, good ideas have a way of doing that...
Saturday, November 16, 2013
Remembering Lindsey: in Linoleum Print
Some people make a permanent mark on your heart.
Lindsey was one of those.
Recently I was looking at some photos of her and I just felt the need to
create a linoleum print of her hands creating art.
Here is one of the prints from the first series.
I like the dark ink on the light paper. I also like that it's a little heavy in places. It's not a "perfect" piece and Lindsey would have never been able to create a "perfect" piece by traditional art standards.
But I wasn't in love with it.
So I went back to work and after a few hundred (at least it felt like it..)
Here is one that I absolutely love!!
In person, it's much lighter and softer, but it doesn't show up on the screen well so I had to darken it. The paper is really white and the colors are soft.
I am so happy with the final product. In the end, this was a piece that I created for myself with only my memories and emotions as a guide. Artistically there are changes I would make, but since I'm not selling it and not grading it, I consider it to be finished!
And as a side note, if any of you out there miss Lindsey and would like an artist proof of the above print, I have a dozen or so that I don't have any need for, but I don't want to throw them away!
An artist proof means that it's a print from the working linoleum block. No two are alike as I would print one and then cut a little more away and so forth.
Friday, November 8, 2013
10 Bandaids So Far....
I've been working on a printmaking piece over the last week or so. I'm on my third try. The thing with printmaking is that you carve out the area that you want to be white. But once it's carved, it's gone. There is NO putting the linoleum back.
So there is a fine line you have to reach. My first two plates I went to far. This time, I'm trying to stop right at the line. I want the details, but I want the viewer to be able to feel the piece as well.
Yesterday at school I had my student's critique the piece. They were a little leery and you could tell that they DID NOT want to hurt my feelings. But I told them that I needed their feedback, that I am a working artist, not just a teacher and want to make sure that the piece "reads" to the viewer.
It was fun.
Here is where I am at. What do you think? Should I take anymore of the black out. Remember, I can't put anymore black in it.
And now that you have looked at it, what do you see? I SO want to tell you, but I'm trying to not lead you!
Sunday, May 26, 2013
Tutorial for printing your own tshirts
For yesterday's race, we wanted tshirts. Buying a custom printed shirt is expensive. we didn't want that! So, I designed a little shirt and printed our own. Here is a tutorial for you as this is a printing process that anyone can do!!
Now, I have to say that if I was going to make 10 or more shirts, I would screen print them. I have that capability and knowledge, but I know that a lot of people don't. You could use this printing technique that I will show you to print as many shirts as you want, it would just get tedious.
The upside to this technique is that there is no wasted paint and no mess!! Score! (Screenprinting has mess and waste.)
So back to this technique. I didn't create the idea, I just tweaked it for my use. In the art world, it's a monoprint.
Step 1: Design your shirt. I first had a fat font and a heavy graphic. This didn't work very well as I ended up with lots of squishy paint. I would suggest that you stick with a simple font and simple graphic. You can always add more paint later, but it's hard to work with gobby paint.
Step 2: Print your graphic in REVERSE or MIRROR. It doesn't need to be in color and it doesn't matter if it's inkjet or laser, you are not using the paper, you are working with the image.
Step 3: Using Dimensional Fabric Paint, trace the image. I was really afraid the paint would dry to quickly and that it wouldn't print, but that was really only a problem with the school house as it was a fine line. I could have gone back over it and made it a thicker line, but I chose not too. I will say that I practiced on the back of old shirts a few times. I was leery of how it would print and didn't want to ruin a good shirt.
Here is an early print. I used too much ink on the letters, but I love the way it looked on white! (we didn't want white for the race as we weren't sure about getting wet/muddy)
Here is another print. I did this one directly on the blue shirt. It did NOT work. But here is what I learned, if you print and it looks horrible, use spray and wash liberally and put directly into the wash and the paint COMPLETELY comes out!! Awesome!!
Alright, so here is a print ready to go. I just used black paint and the lines are fairly thin.
Step 4: Turn your paper over and place directly onto the shirt that you want printed. I have my shirts on tshirt boards, but you could use a piece of cardboard or a few layers of newsprint. You just need something to absorb the extra paint and to protect the other side of the shirt.
Step 5: RUB GENTLY but FIRMLY the paper onto the shirt. I start with one corner and rub over the entire surface of the paper. Yes, even the part that doesn't have paint. You want to make sure that the entire print had a chance to adhere and set onto the shirt.
Step 6: Carefully pull the paper off the print. I start at one corner and pull at an angle gently rolling the paper off the print.
After the paint set up a little, I just painted in the shoes, outfit and bow. That was probably the easiest way to add color. But, another option is how I did my shirt. I traced the black and then went back and added the blue and red.
You can see from the print that it was too much blue and red and that it smeared out of the edges. Not a great clear print, but worked well for what I wanted the shirt for.
So there you have it! A tutorial for printing your own shirts!
Subscribe to:
Posts (Atom)