Wednesday, October 28, 2009
Kidney Walk this Saturday!
In case you missed the original post, you can see it here.
Thanks to all of you who are supporting our walk!! We will post pictures of our journey.
Emily
Saturday, October 24, 2009
Ink on Glass
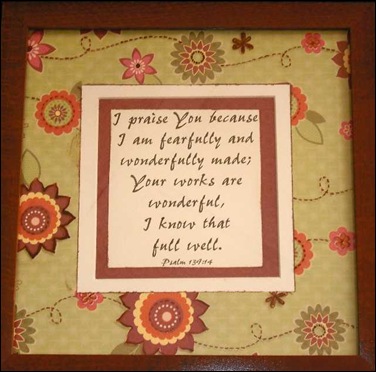
My sister’s birthday is this week and I wanted to make a little something for her. So I combined one of her favorite verses with a technique I had been wanting to adapt for crafting and here are the results!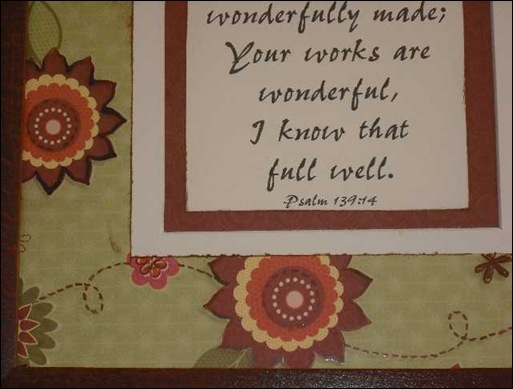
I printed out the verse on cardstock and layered it in a 9”x9” frame. I then took out my caligraphy pen and ink and started going over some of the lines on the front of the glass. I really like how the brown ink matches and highlights the colors in the background paper. One would have thought I planned it :)
The hardest part of this project was deciding when to stop adding color. I wanted the ink to be seen, but not overpower the rest of the piece. 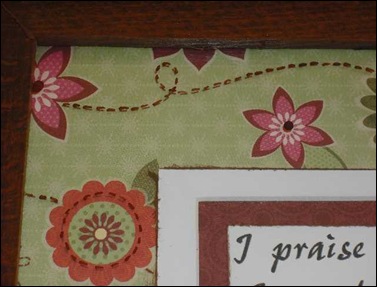
Supplies: CTMH Boom-Di-Ada papers and Barn Red ink, frame from IKEA and calligraphy supplies (see below picture.)
Hope you like this Libby and have a great birthday!
Saturday, October 17, 2009
Another new technique: Faux Mesh
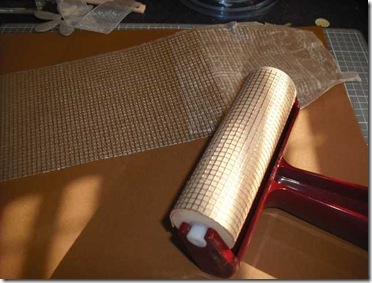
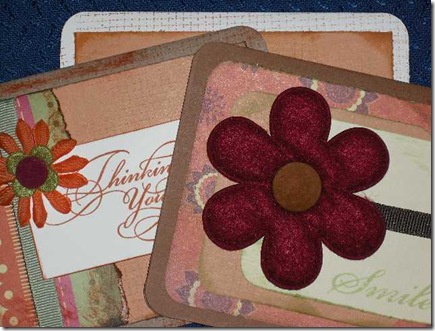 Here is another new technique that I stole off Splitcoast Stampers and changed up for use with inks. This technique is easy and doesn’t have to dry which is really nice.
While I have mesh in my stash that has been sitting around waiting to be used for years, in the end, I like this better! One piece of mesh (or drywall tape) is all you need for lots and lots of creating. And you don’t have to wait until you have the perfect use for silver mesh.. now you can have any color!
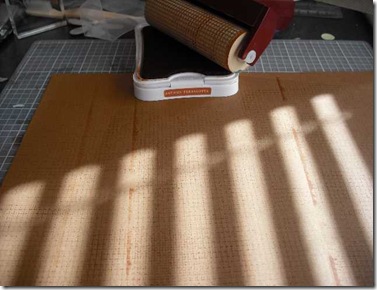
I cut a piece of my adhesive-backed mesh and rolled it onto my brayer, choose an ink color, and started rolling! When I wanted to change colors, I just brayered a wipee and that was it!
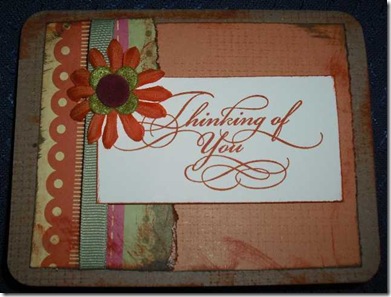
I hope you can see the mesh pattern on the different pieces of cardstock.
Supplies are Close To My Heart except for embellishments
Paper: Boom-Di-Ada
Ink: Autumn Terracotta, Sweet Leaf, Cocoa and Goldrush
Stamps: Gracious Greeting and Picture Perfect
Emily
Friday, October 16, 2009
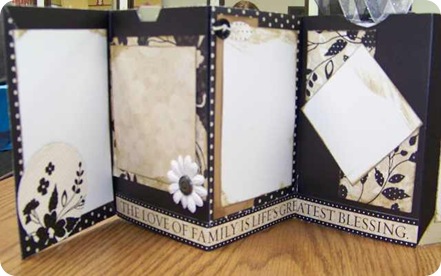
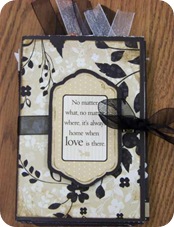
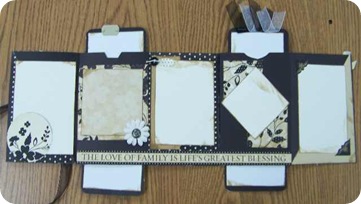
Accordion Slider Album
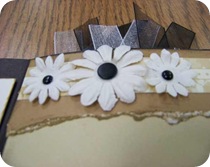
I saw the idea to make a paper album with sliders somewhere in the internet world, but the lady was only selling kits and to get the template you had to purchase a $30 kit. I of course thought to myself.. what the heck! and made one myself. I don’t know what the original dimensions were or how it was done, but I am happy with mine and I am happy to share what I did :)
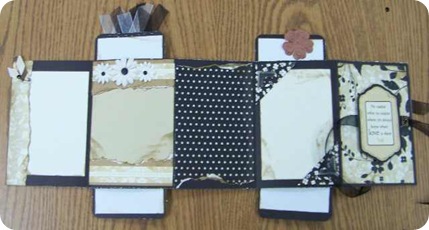
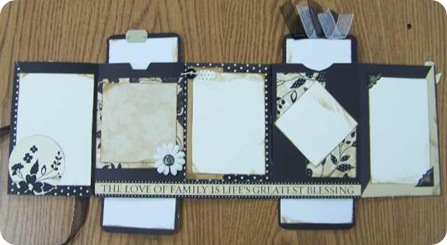
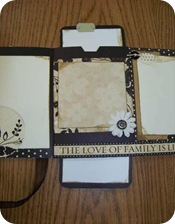
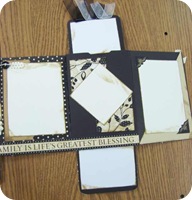
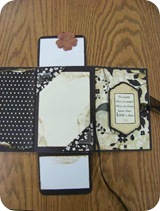
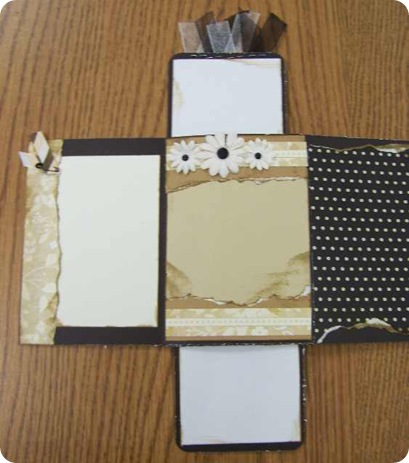
First, here are some pictures of the album open and laying flat on the table so that you can see the hidden parts that slide out!
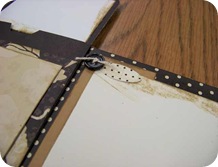
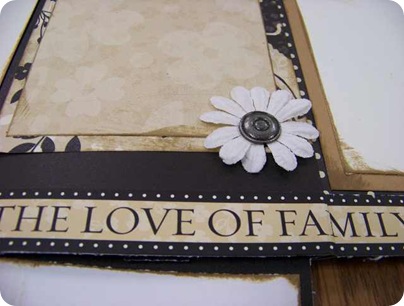
And more pictures..
I loved making this and seriously thought about keeping it for myself.. but once again, I gave it away as a thank you gift. I seem to be indebted to a lot of people these days! However, I think I’m gonna have to make one of these for me :)
If you want instructions on how to make this, give me a few days, but email me to remind me and I will get a link posted on how to do this.
Have a great weekend and I hope to be posting more treasures soon!
Emily
Supplies: CTMH Silhouette papers, CTMH Desert Sand ink, embellishments from a variety of sources.
Sunday, October 11, 2009
Acrylic Resist Cards
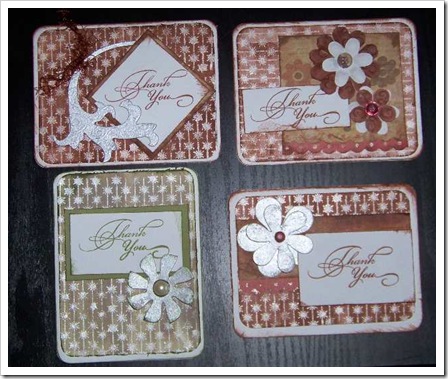
Wow is all I can say about these cards! I LOVE how they turned out!! As cool as they look in the picture, they are even better in person :) I can’t wait to give these away!
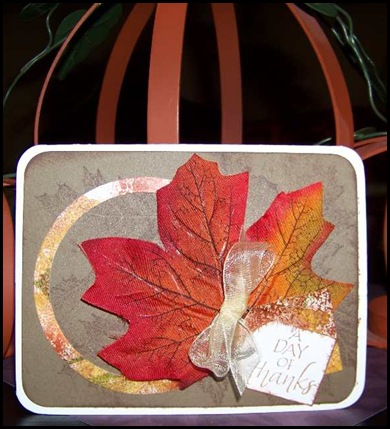
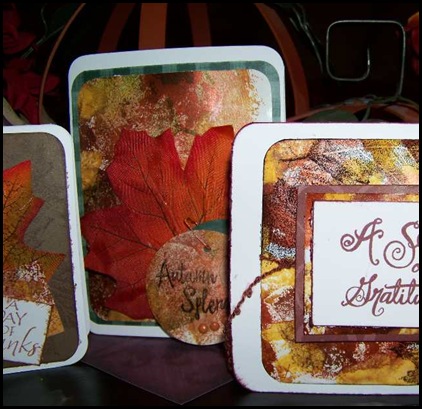
To make these cards, you need acrylic paint, I used the metallic paint daubers as they are super easy to use and no clean up. I precut my base cards to the size I wanted and then stamped each base with the background stamp and let the paint dry.
Then I took my brayer and ink and layered on ink and then burnished it in and off the paint with a paper towel. The green card I used tint instead of ink.
Then I created my cards. That’s it! See the pictures for more details about the products.
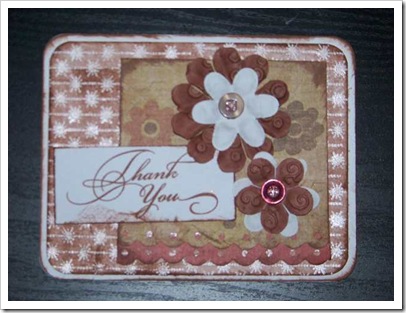
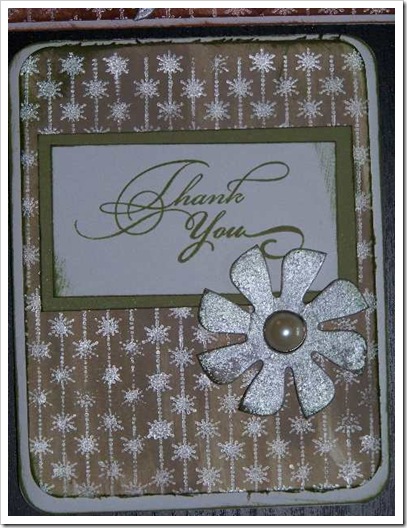
Here are the finished cards.
Saturday, October 10, 2009
Acrylic Smash Card
Man, if I had planned ahead, I would have saved this for Tuesday and got a Technique Tuesday post in, but I didn’t so it will just have to work for today :)
This technique is simple and doesn’t take a whole lot of planning.. that’s the best kind of technique in my book!
I got the premise and basic information from Splitcoast Stampers, so you can go check out all of the details there, but of course, I adapted it to fit my needs and the fact that I don’t have the cool cutters the original poster had!
To create these cards you need: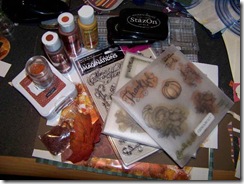
- Stazon ink
- Stamps
- Acetate or Transparency paper
- Acrylic Paints
- White paper
- Card bases and other decorative papers and embellishments for cards
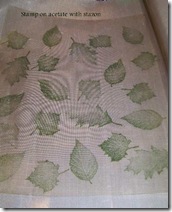
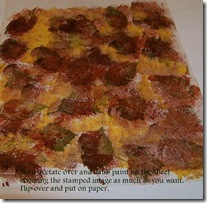
Once your papers have dried, cut into desired shapes and create!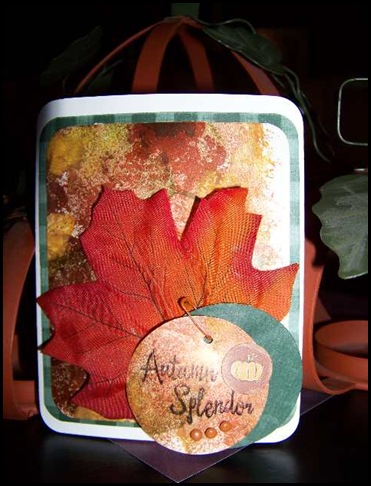
Have a great day and I hope you enjoy making Acrylic Smash cards!!
Emily
Thursday, October 8, 2009
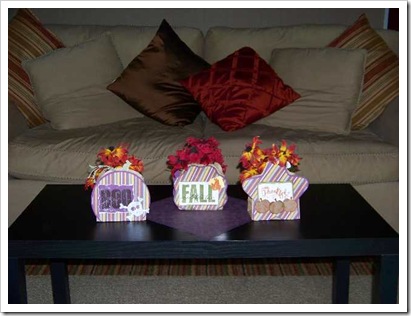
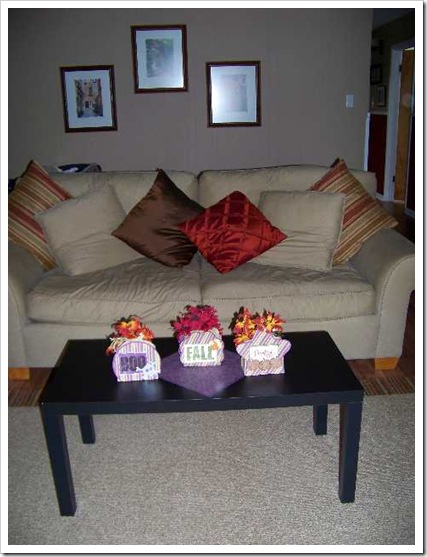
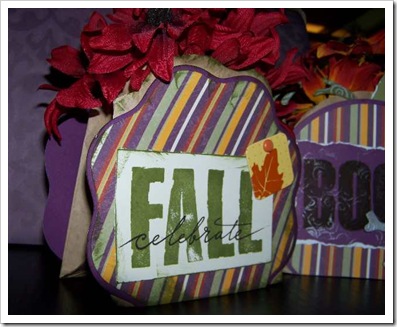
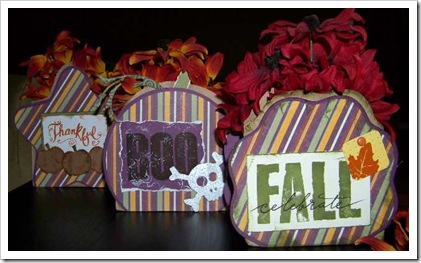
Fall Treat Bags, Decorations and/or Centerpieces!
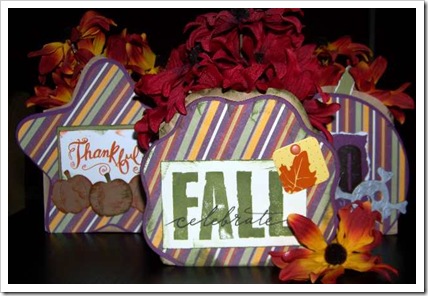
Don’t you just love finding a new use for something that you always have on hand?? Well, I do! And one of the things that I seem to always have around are brown lunch size sacks. So I thought.. hmm.. what can I do with these that is different, or at least fun and cute?
Here is what I came up with!
These were super easy to make and the kids really wanted to make some too.. so that’s next on the agenda. We will see how that goes!
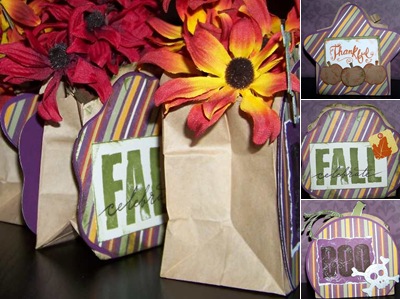
And here the bags are as a centerpiece:
For those that can’t believe that I would use a skull and crossbones, well, let’s just say, I’m trying to use up some supplies! You know that is so NOT my style, but it’s good to be stretched once in a while :)
Supply List:
- Brown Bags
- CTMH Enchanted papers
- CTMH Rustic Alphabet
- CTMH Give Thanks
- Tim Holtz Grunge
- Olive, Autumn Terracotta, Black
- Creative Memories cutting system
Emily
Join me for Blogtoberfest!

I've decided to challenge myself and participate in Blogtoberfest! Yeah, I'm coming in a little late, but given life right now, I am proud that I even know that it is October!
Tresa Black over at Fabulosly Artsy came up with the idea to do a daily posting of ideas, tutorials and projects during October. I think that this is the jump start I need to get crafting mojo back :)
So, now that I've decided to do this, I better get to work! I can't promise that I'll do something every day, but I will try to step up the creativity and do something fun regularly :)
Have a great day and stop by later in the day and see if I've posted any projects!
Emily
Saturday, October 3, 2009
A couple of Tri Fold Cards.. Fun and FANCY!!
I saw the template for these cards and just had to try it out myself. It is an easy card to make and the best thing is that besides the base, you can use all manner of scrap papers!
To make my cards, one base is Chocolate and one base is Colonial White. All the rest is made from Caprice papers from Close To My Heart. I am doing my best to use up all of my scraps, but they seem to multiply :) !
I had already written in the card before I took the pictures, that’s why each card has the distorted piece. I didn’t want to share the written part with the online world before the actual recipients got theirs!
The embellishments are from a couple of different sources, the flowers are Prima and the inked arrow is Tim Holtz. The ribbons and brads are from a variety of sources.
Here are a couple of close-ups.
I can’t wait to deliver these cards! In person, they really are more like a little gift! And, in case you think this crafting thing is a fluke, just you wait cause I’ve got a big project that has to be done this week! I can’t wait to show you what I am making…

