Showing posts with label home. Show all posts

Thursday, September 8, 2016

Our Rallying Cry.. the reason we can renovate NOW!

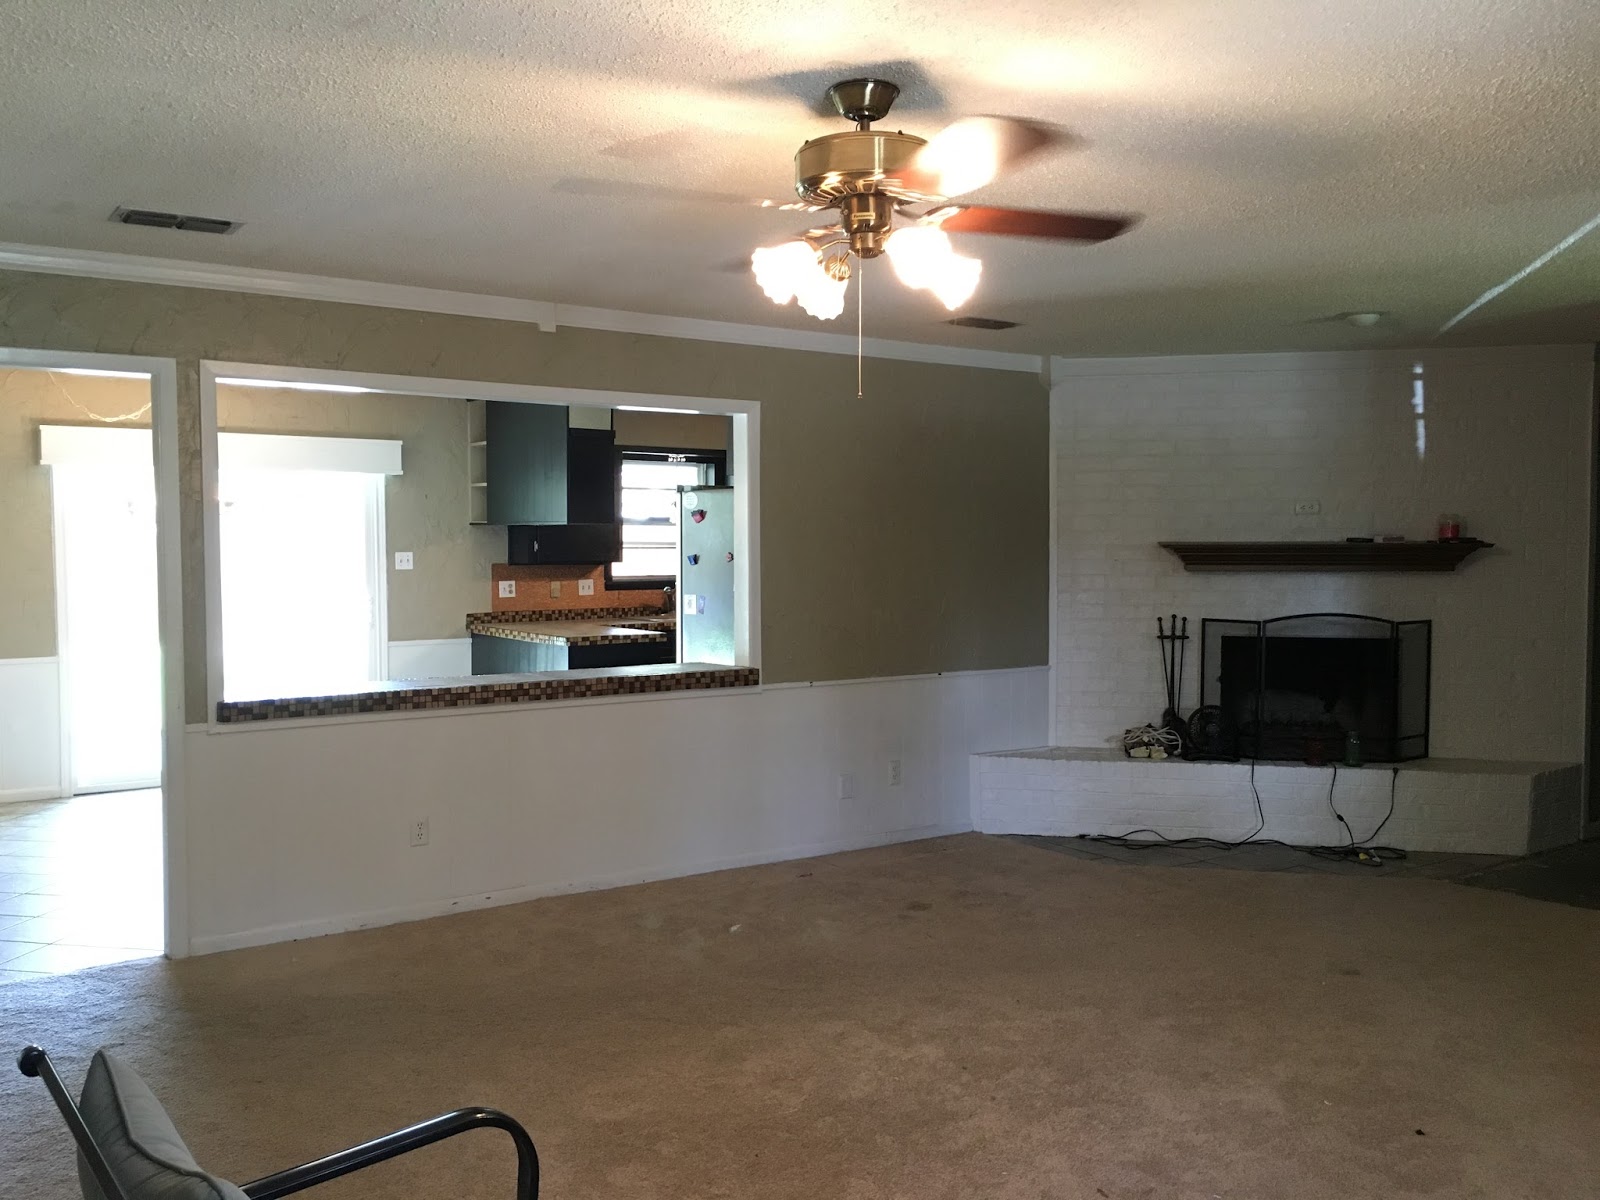
Over labor day, instead of living it up by the pool, we moved out of our house into a rental down the street.


Why? Because instead of building a house, we decided a while back to just renovate the house and make it the home that we want and need. Our location is ideal and the house is great. It just wasn't OUR house... it was my parent's home.  That's one of those weird things that I never thought about until living in the house I grew up in as an adult and parent!

So, while the start of the school year is the absolute worst time of the year to start a home renovation, we are doing it. I really started back in the summer with the girls rooms and have been slowly building to the level of insanity we are at now.

But we are surviving. Primarily cause we are good at living in chaos. ;) But more than that, we are surviving because we have a plan and a rallying cry!

A what? 

A RALLYING CRY!!!

Doug brought home the book The 3 Big Questions for a Frantic Family by Patrick Lencioni
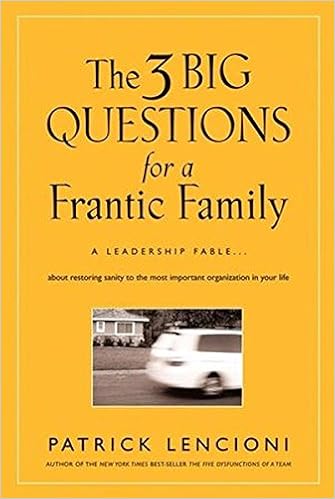

This book was the difference maker. I read it in one sitting and then ran out to staples and bought our white board!

Doug and I bounced ideas back a forth a couple of days and ended up with this as our family board.


It was a great experience and really got us on the same page so that we could move forward together. I often feel like while we are on the same path and absolutely on the same journey, we are often taking turns leading and following, rarely walking side by side.. hand in hand.  And maybe that is exactly what we are supposed to be doing within the the give and take of a relationship, but I truly enjoyed hashing out our family rallying cry with Doug!

With "Make the House Our OWN" as a rallying cry, it was easier to walk into the insanity of packing our entire house and moving us four houses down the street for 4-6 weeks. I want to see our plans and dreams fulfilled. And how do we know that we are on track? Well, the defining objectives are things that we want to accomplish along the way. 

The kid's rooms are done: CHECK! 
Because the moving out to renovate we used this as a chance to simplify and sort for a garage sale. So CHECK and CHECK!!

The only piece that we are struggling with right now is the Plan the Week objective. That will get better, but it is hard to plan the week and prep meals in the middle of the start of school and moving!

And since I am sure you are wondering, the Standard Objectives are things we want to do or continue no matter the goal or rallying cry. These are the things that we value as a family and don't want to neglect.

Tuesday morning the renovation started.
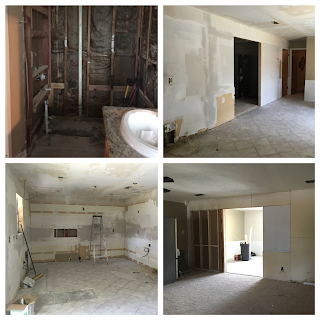
It's going to be very different. I'm not sure yet if that is good or bad...

but it will be OUR home.

So I guess mid October we will be looking for a new rallying cry. Hopefully this next one won't involve a move!

Monday, May 13, 2013

Tree Fabric Wall Art Tutorial

Back in March I blogged about the vinyl tree that I put on the hallway way. I've liked it, but I didn't love the glossy vinyl nor the super skinny trunk. See below.
 
So yesterday I went to Walmart and picked up a "starter bolt" of fabric from their pre-cut fabrics. I didn't just crazy love the fabric, but it was workable and inexpensive. I spent $7 on the fabric and I only used 1/2 of it for my project and I bought 2 yards of interfacing. So for about $10 I have my new project ready to go.
Today, I ironed on the interfacing to the fabric. This is not hard at all. I went ahead and ironed the entire 2 yards to the fabric.

Then I took down the vinyl tree. I used the vinyl pieces as patterns for the leaves and the shape of the trunk. Here you can see me ironing on the limbs of the tree to the wall. I LOVE this FAST and easy wall art! It is truly a matter of ironing on the lite interfacing to the fabric, cutting it to size/shape, peeling the backing paper and ironing it to the wall!!


Besides not having paint spills nor any drying time, one of the things I like about this project most is that if you don't like the way it looks, take it off and iron it in a new place. I even cut some sections back as I went.


And here it is! Yes I am aware it looks a lot like the old tree. It wasn't supposed to be hugely different, I liked the original tree. I do however like my trunk way better!

Next project? The french doors in the dining room.

Saturday, February 2, 2013

Whatever it takes to give an old bathroom a new life.

Whatever it takes to give an old, outdated bathroom new life... or it could be called...
 
Whatever it takes (okay within reason..) to get this dadgum house to sell!!
 
This week, our realtor suggested that we really consider painting the bathroom.
 
I've thought about it at least a jillion times over the last 8 years. But, to do it, you have to have a couple of days for the labor and then the smell is sooooo soooo bad, you have to be out of the house for I would guess a week!! And you have to be able to let the stuff cure.
 
So, since we no longer live in the house...today was d-day.
 
Consider this to be tutorial should you ever want to take on a project like this.
 
1. clean. This isn't a quick clean, this is a full out, scrubbing every inch clean.  Get your comet and a scouring pad and scrub every surface that you are planning to paint. Rinse. Clean with lime-a-way. Rinse. Dry.
 
2. Using 400 grit sandpaper, go over every surface.
 
3. Wipe everything off.
 
4. Get a tack cloth and wipe down all of the surfaces. This gets rid of all of the last of the residue. It also leaves your hand nice and sticky. great.
 
5. This brings you to this step... see the pictures below. a completely clean ugly bathroom.


This took an hour.

At this point, I highly suggest deciding that your bathroom doesn't really look that bad and that if you only got new bath towels, everything would be much better.

If that doesn't work. Prepare the epoxy.
Note... once you have activated your base you have a six hour window in which to use the quart. It's just a quart, but my is it an expensive quart, so you don't want to waste it!!
 
6. Using your brand new 1 1/2 or 2 inch tapered paint brush (don't buy the cheapest one, but don't spend much either!) start painting the grout lines. Don't forget to "feather" your lines a couple of seconds after you paint them.. you don't want heavy paint edges that you have to try to cover later!
 
7. Take a break. Actually it's gonna stink so bad that you will know when 5 minutes are up because you will be light headed or dizzy or something... the instructions say paint for 5 minutes and then go outside for fresh air for 5 minutes. THEY ARE NOT KIDDING!! I actually used my timer on my phone and set it for 5 minutes. Painting this way takes FOREVER. But better to be safe than woozy!
 
8. After a couple of hours of painting the grout lines, go back and using either a little foam roller or your brush, fill in the tiles. I liked the foam roller, but the paint is thin... so it drips. bummer. However, in the end, I used the brush more, because I liked painting a little heavier with the brush.
 
9. Paint the tub.
 
10. Paint the sink.
 
11. Close your can of paint. Put your paint brush in a ziploc bag. zip it up and put it in the refrigerator. (okay, I don't know that I would do this if the fridge had food in it. Yeah, I would, but I'd double bag the ziploc..) Now, go away from the house. Like at least a block away.  Sidenote: When I pulled up into the driveway I could smell the epoxy!!
 
12. After at least an hour, come back and start everything again.
 
After more than 6 hours of painting, I used every drop of the quart of paint. I have 2 coats on a lot of the tile, and 1 coat on some. Tomorrow morning, I'll start again. ugh.
 
But for now, I'll leave you with the in progress pictures!!

 
Yeah. It's worth it. Dadgum. I sure wish I could have done this 8 years ago!

(oh.. and on the off chance you were not feeling sorry or at least a little sympathetic towards me for having to spend a GORGEOUS Saturday locked in the bathroom smelling epoxy fumes... I did this after getting up at 4:30am and running 15 miles.) 

I'd like a rockstar sticker now.

Thanks.

Saturday, February 18, 2012

40 Bags in 40 Days

What are you giving up for Lent?  It's a common question this time of the year as Ash Wednesday is this Wednesday!  This year, I'm not giving anything up. Well, not any one thing.  Some years I've given up chocolate, some sugar, some caffeine and so forth.  But this year, with life and kids and stress, I decided that giving up one thing was just going to add to the stress level and I didn't need that.

So, instead, I'm doing 40 Bags in 40 Days.

Google it and you can read a dozen or more articles/blogs about it, so I'm not going to list just one for you.

The idea is that during Lent, you use the 40 days to refocus your life and declutter your home.  I like that. A LOT!

You would think that after moving twice this last year that we would be clutter free. We aren't. I look around the house and the amount of stuff that we don't use is staggering. So... 40 bags, oh yeah. Now, I'm not planning on emptying the house of our worthwhile keepsakes and things we use everyday, but I KNOW that we can come up with at least a grocery size bag of stuff from every corner of our house.

Here is my list:


And here is my challenge to me, that while I am cleaning out rooms/closets and drawers, that I declutter mindfully. That I ask myself to be honest about if we use something and that if we don't, we send it to a new home with grateful hearts.

Because Lent is a time of preparing our hearts for Easter. It's a time to focus on the gift/sacrifice that Jesus gave us. It's a time to declutter our bodies and to be mindful of the gifts God has given us. So this year, I'm not giving up sweet tea for Lent. I'm going to purposefully and prayerfully focus on our home.

Friday, January 13, 2012

A Pre-Valentine, Post-Anniversary Gift for the Foyer

With the way I titled this post, you might think that I gave a gift to the foyer. 
I didn't.
I really bought the tree print for Doug. 
For either a late Anniversary or a pre Valentine gift.

It was funny, he opened it and smiled and said that he had looked at getting one for me.
Good thing I'm either late or early so that we didn't overlap and both buy the same gift.
That would be bad given that they are custom and not returnable.

So, disaster averted!

And here is the print on the wall.
Yes, the prints are high.

I cleaned off the entry table so that the picture would look nice.
All the junk mail that usually sits on the table is hiding nicely in the drawer.

So you see, usually, I would need the prints high like that to see them over the accumulated "stuff."

Hmm. Now what am I going to get Doug for V-Day?
I might should have thought that thru a little longer....

Thursday, October 27, 2011

You Can Never Go Home Again... Or Can You?

 We bought a house and we are moving!!

Well, we bought the house about six years ago or so, but yes, we are moving back to our old house.


It's interesting how life works. 

We thought the house had sold, we moved out the first week of June and the buyer moved in and was to rent our house from us until his house sold.

Well, with the market and all that... his house didn't sell.  So out he goes and we go back.

It could have been a disappointment.  But it's not.

We found that we love our house.  We missed our house.  The girls asked every day to go home.

So now we are going home. 

But I painted a number of rooms and we got new carpet, so it feels like a new house.

Yeah for us. 

No buyers remorse for us :)